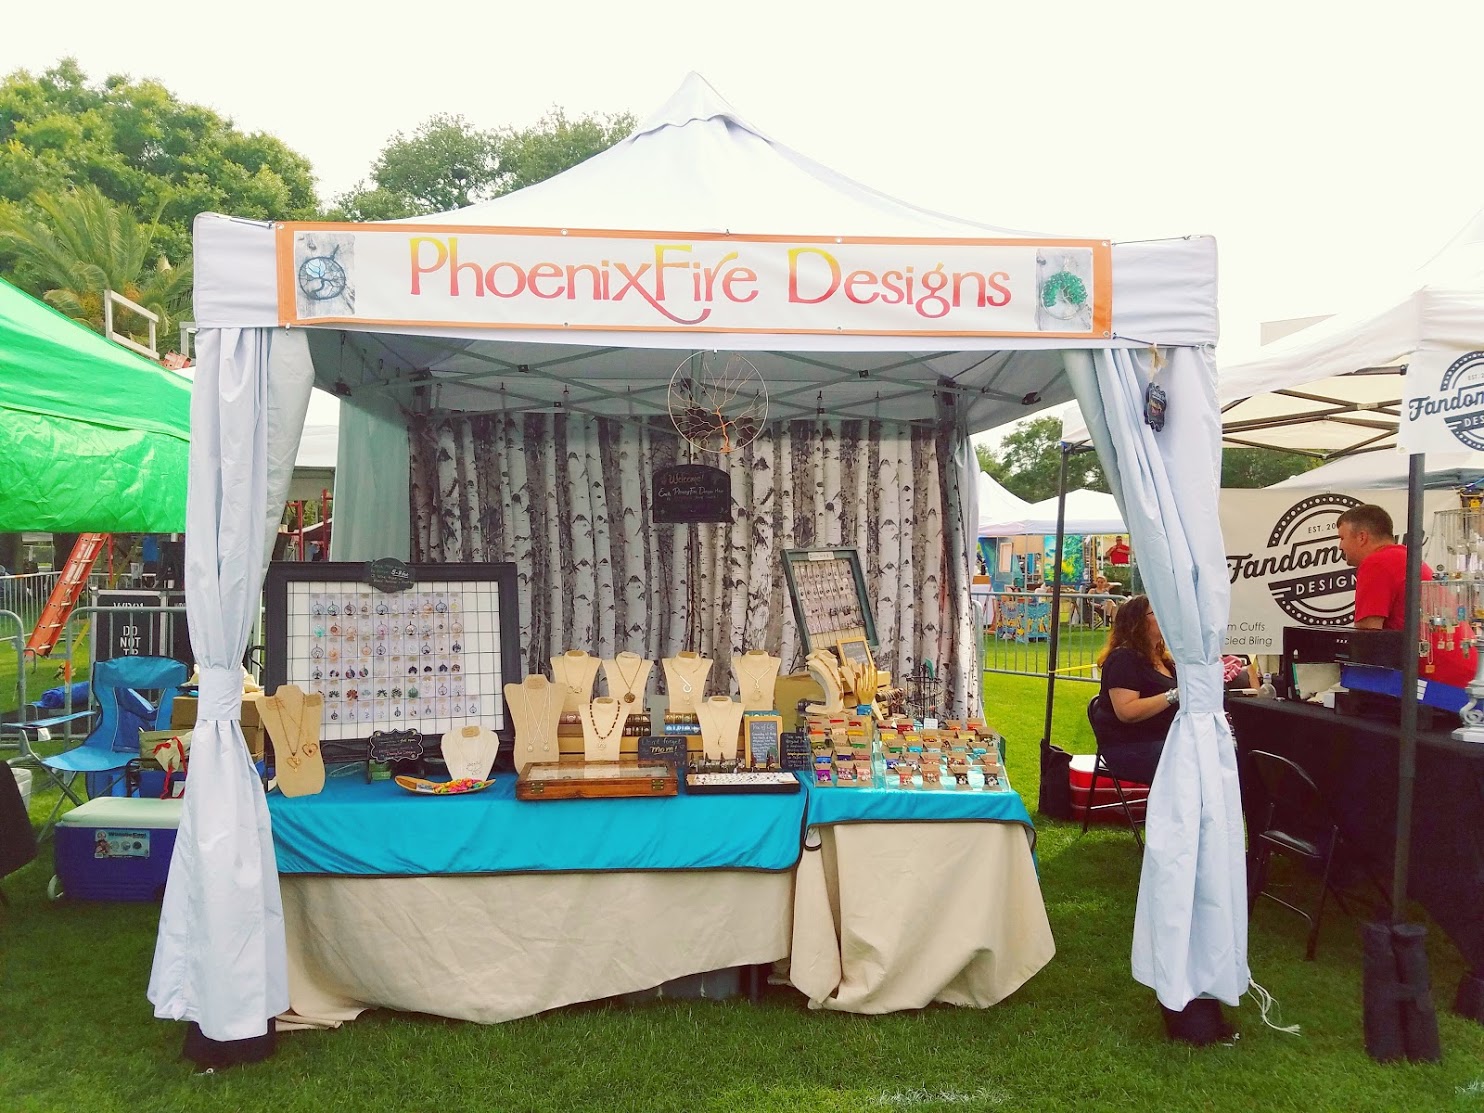
Posts Tagged ‘how to’

Handbook For the Recently Deceased

I did a Halloween swap on Craftster and one of the items I made was a version of the Handbook for the Recently Deceased from the movie, Beetlejuice.

Here’s a screenshot from the film:

This thing reads like stereo instructions!

And here’s my version:

So how did I make it? Step-by-step behind the cut!
Read the rest of this entry »


Bookmarks!

As I’ve mentioned before, in addition to my jewelry, I’m also a crafty person in general. I enjoy a wide variety of crafts, craft projects and crafty hobbies. I also participate in a lot of craft swaps on Craftster as a result.

Recently, I needed to make bookmarks for someone. At first, I wasn’t sure how to go about it. I tried a few different types and didn’t like any of them. Then I wound up hitting on a great style; simple but with a wonderful result. I used my Cuttlebug, an assortment of embossing folders, a brayer (rolled brush for stamping), an assortment of rubber stamp inks and some assorted ribbon.

Here’s the result:

First, I ran the pre-cut bookmarks through various embossing folders to create a pattern and design. Next, I inked up my brayer with ink and rolled over the embossed image. Because it’s raised texture, you get interesting levels of color intensity. I repeated this process with different colors on the same bookmark until I liked the layered look of the colors. Finally, I punched a hole in the top and looped an coordinating ribbon to finish it off.

I found it was best to do them assembly-line style; all the embossing, then all the inking, etc. It took probably a couple hours all told but doing it a second time would probably be quicker. It’s an easy, afternoon project!


Trees in Progress and Finished

Thought it might be interesting to share some photos of pendants being made as well was their final images. The in-progress shots are just quick shots from my cell phone, so forgive the low quality. But, as you can see, last week, I had a whole batch of trees I was working on. These were made over two days for orders, restocks and swaps.

And here are what some of those finished pieces look like:

Here is another tree in progress with it’s finished version

As you can see, it takes a lot of tools and time to make a completed pendant! I put a lot of love and care into each of my pieces and I hope it shows when you receive it.

You can shop for these and other pendants HERE in the shop!